
Attaching a hair system using tape is one of the most common and reliable methods for achieving a secure and natural-looking result. Hair system tape is widely used because it provides strong hold, easy maintenance, and relatively simple removal.
Whether you are new to wearing hair systems or looking to improve your installation technique, following the correct attachment process can make a big difference in comfort and durability.
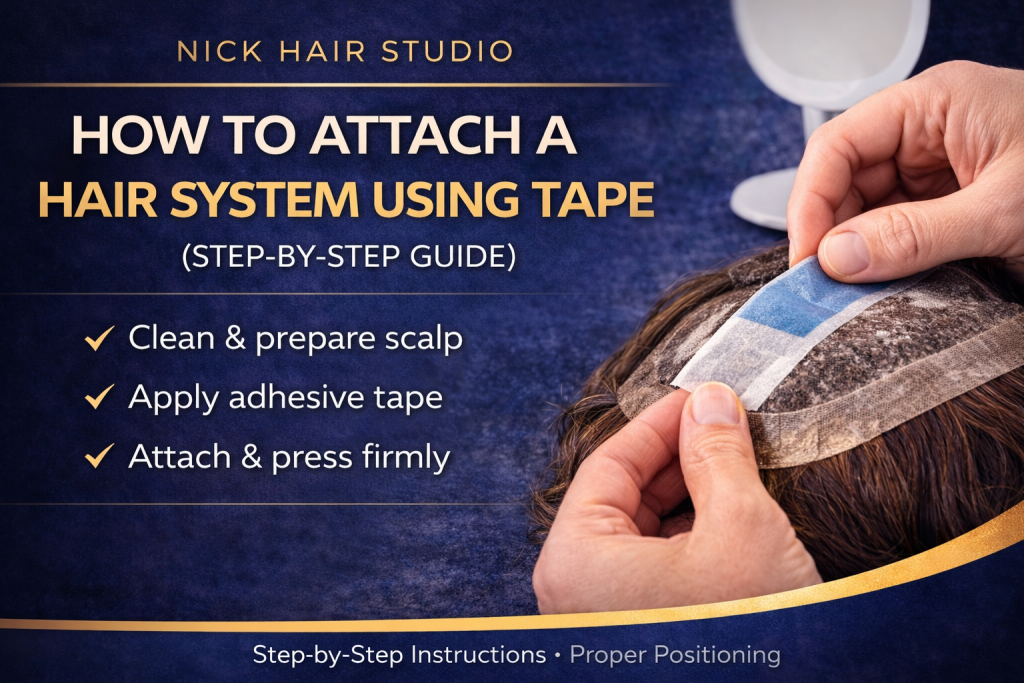
In this step-by-step guide, we explain how to attach a hair system using tape properly.
Tools You Will Need
Before attaching your hair system, make sure you have the right products ready.
Essential tools include:
• Hair system tape
• Scalp cleanser or alcohol wipes
• Adhesive remover (if reattaching)
• Scalp protector (optional)
• Mirror for alignment
Preparing everything in advance helps make the installation process smoother.
Step 1: Clean the Scalp
Proper preparation is essential for strong tape adhesion.
Start by cleaning the scalp thoroughly using alcohol wipes or a scalp cleanser. This removes oils, sweat, and residue that can weaken adhesive hold.
Make sure the scalp is completely dry before applying any tape.
Step 2: Prepare the Hair System Base
Turn the hair system upside down so you can access the base.
Apply hair system tape along the perimeter of the base. Many users place tape around the edges while leaving the centre area open for breathability.
Avoid touching the adhesive surface too much, as oils from your fingers can reduce stickiness.
Step 3: Remove the Tape Backing
Once the tape is positioned correctly, remove the protective backing.
Be careful not to touch the exposed adhesive.
At this stage, your hair system is ready to be attached.
Step 4: Position the Hair System
Carefully place the hair system onto your scalp.
Start by aligning the front hairline first. This ensures the most natural appearance.
Once the front is aligned, slowly press the rest of the hair system down toward the back of the head.
Step 5: Press Firmly for Secure Hold
After positioning the hair system, press firmly along the taped areas.
Applying pressure activates the adhesive and helps the tape bond properly with the scalp.
Many stylists recommend pressing for 30–60 seconds to ensure a secure hold.
Tips for Better Hair System Tape Hold
To maximise the performance of your hair system tape:
• Always apply tape to clean, dry skin
• Avoid touching adhesive surfaces
• Use scalp protector if you sweat heavily
• Press firmly during installation
Following these tips can help your hair system stay secure for longer.
How Long Does Hair System Tape Last?
Hold time depends on the type of tape used and your lifestyle.
Typical hold times include:
Daily wear tape: 1–3 days
Standard hold tape: 1–2 weeks
Extended wear tape: up to 4 weeks
Choosing the right adhesive is important for reliable attachment.
Choosing the Right Hair System Tape
Different tapes offer different hold strengths.
Popular options include:
• Supertape for extended hold
• Contour tape strips for easy application
• Daily wear tape for short-term attachment
Using high-quality tape improves comfort and reduces maintenance time.
Attaching a hair system using tape is a straightforward process once you understand the correct steps.
Proper scalp preparation, careful positioning, and quality adhesive products all contribute to a natural and secure result.
With practice, most users can complete the entire installation process in just a few minutes.
Looking for reliable hair system adhesive?
Explore our best-selling Supertape products trusted across the UK.
Shop Best Sellers